
How to Clean Hazy Headlights?
Over time, every vehicle's headlights can become hazy or cloudy due to exposure to environmental factors such as UV radiation, road debris, and oxidation. This detracts from the appearance of the vehicle and reduces the effectiveness of the vehicle’s headlights, compromising nighttime visibility and safety.
Fortunately, restoring clarity to hazy headlights is a relatively simple and cost-effective process that can be done at home with the right tools and techniques. In this article, we’ll walk you through the step-by-step process of cleaning hazy headlights to improve aesthetics and functionality.
Assess the Condition of the Headlights
Before beginning the cleaning process, take a close look at the headlights to assess the extent of the haziness or cloudiness. Determine whether the haze is primarily on the surface or has penetrated deeper into the headlight lens. Minor surface haze can often be addressed with a basic cleaning regimen, while more severe haze may require additional restoration steps.
What are the Headlights Cleaning Tools?
When it comes to cleaning hazy headlights, having the right tools at your disposal can make all the difference in achieving optimal results. Here’s a guide to the essential headlight cleaning tools and materials you’ll need to restore clarity to your vehicle’s headlights:
Headlight Cleaning Solution or Mild Soap
Utilizing a specialized headlight cleaning solution or mild soap is paramount to effectively eliminating dirt, grime, and oxidation from the surface of the headlights. These solutions are specially formulated to delicately yet effectively cleanse the delicate plastic surfaces of the headlights without causing damage.
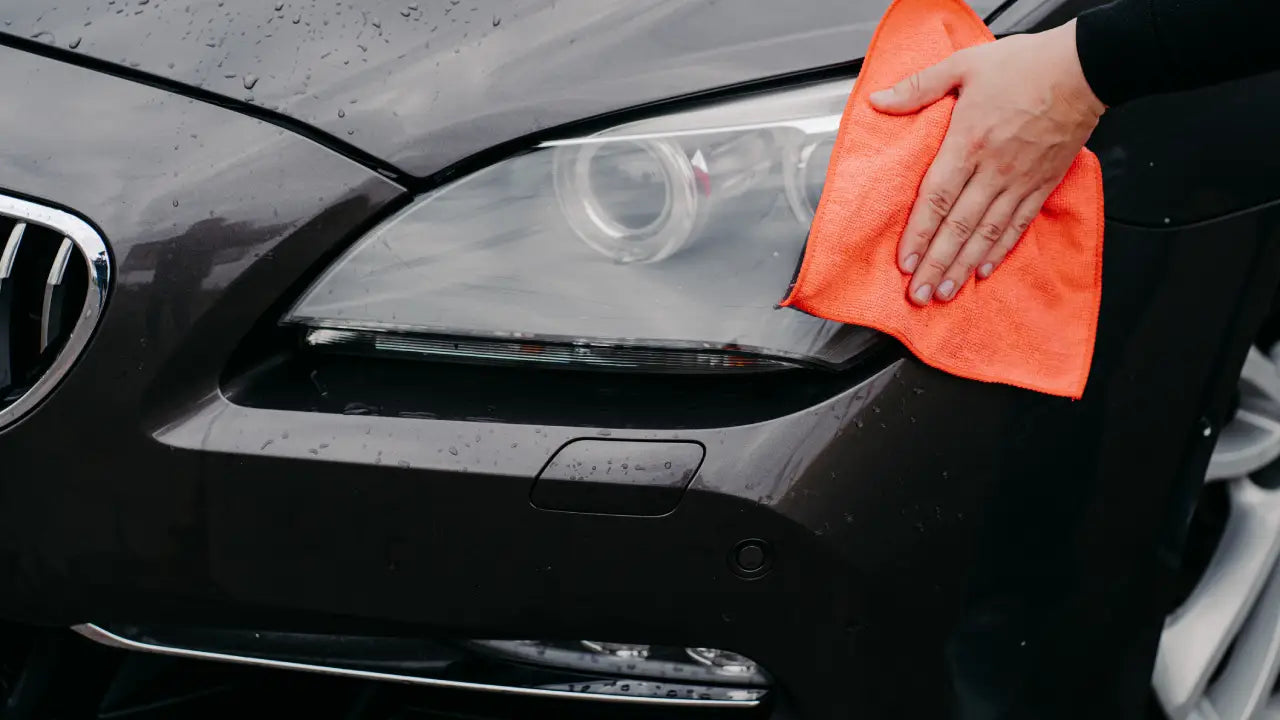
Microfiber Towels
Microfiber towels serve as indispensable assets for cleaning headlights owing to their soft, lint-free texture. Renowned for their exceptional absorbency and ability to lift away contaminants without leaving scratches, microfiber towels ensure a meticulous and polished finish on the headlight lens.
Water
Clean, lukewarm water is a fundamental component necessary for rinsing the headlights both before and after the cleaning process. It plays a pivotal role in eliminating any residual cleaning solution and ensures a thorough and streak-free outcome.
Automotive Masking Tape
Employing automotive masking tape is imperative to safeguard surrounding areas of the vehicle, such as the paint, trim, and rubber seals, from inadvertent damage during the cleaning process. Acting as a protective barrier, automotive masking tape prevents abrasive materials or chemicals from inadvertently coming into contact with sensitive surfaces.
Automotive Polishing Compound (Optional)
Optionally, the automotive polishing compound may be utilized to address minor imperfections, scratches, or oxidation present on the headlight lens. Applied with precision using a polishing pad or cloth, this compound delicately buffs away surface blemishes, thereby restoring clarity and luster to the headlights.
Automotive Wax or Sealant (Optional)
The application of automotive wax or sealant to the headlights serves as an additional layer of defense against UV radiation, environmental contaminants, and future oxidation. This proactive measure prolongs the headlights' clarity and brightness and augments their overall aesthetic appeal.
Headlight Restoration Kit
A comprehensive headlight restoration kit encompasses a myriad of components, including abrasive pads or sandpaper, a polishing compound, and a protective sealant. Tailored to cater to moderate to severe instances of haze, yellowing, or oxidation on the headlight lens, these kits offer a holistic solution aimed at restoring clarity and luminosity.
Step-By-Step Process to Clean Headlights
Here are the steps for cleaning hazy headlights:
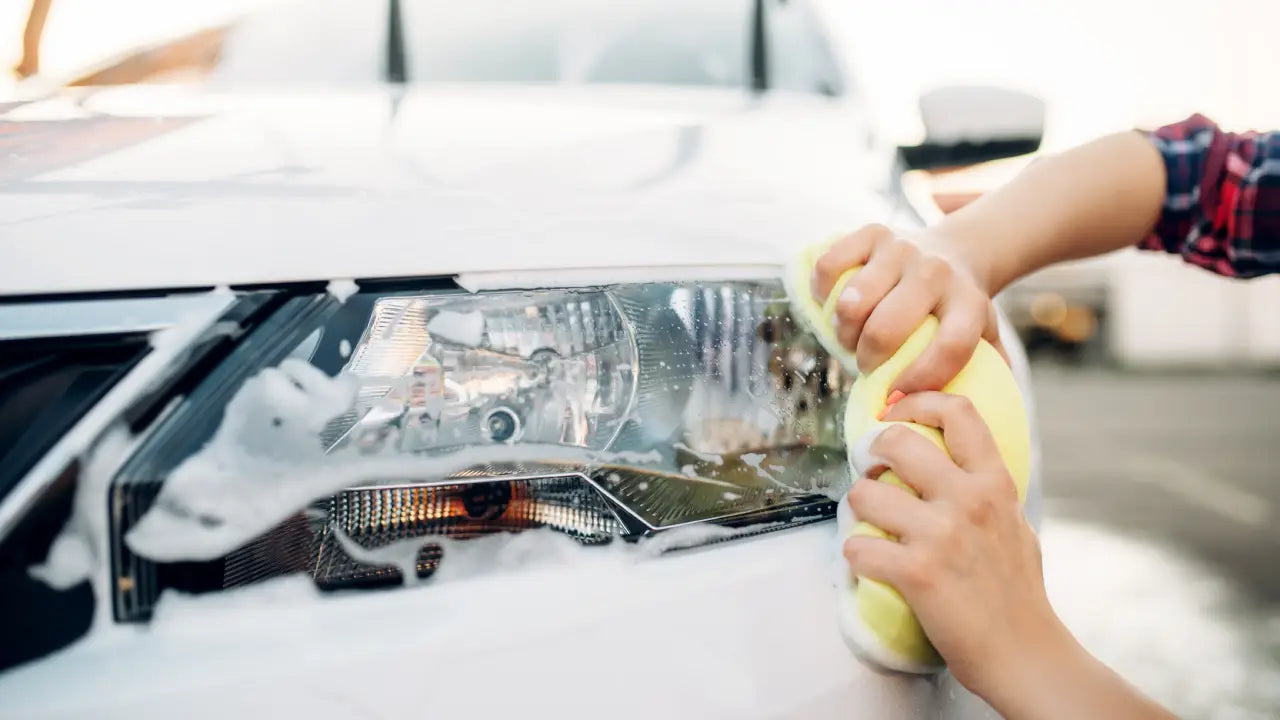
- Thoroughly Clean with Soap: Start by thoroughly cleaning the headlights with soap to eliminate any surface dirt or debris. Use a gentle soap solution and a microfiber cloth to ensure a comprehensive cleaning.
- Apply Masking Tape: Carefully apply masking tape around the headlight to safeguard painted surfaces and other surrounding areas from accidental damage or abrasion during the cleaning process. Ensure the masking tape adheres securely and covers the intended areas.
- Apply Polishing Compound: Using a damp microfiber cloth, apply a small amount of polishing compound to the headlights. Employ circular motions and moderate pressure to cover the entire headlight surface. Avoid rushing through this step—concentrate on damaged areas, keep the surface lubricated, and dedicate several minutes to each headlight, adjusting as per the level of damage.
- Check Progress: Wipe away excess compound with a microfiber cloth to evaluate the clarity of the lens. Repeat the application of the polishing compound as needed until you’re satisfied with the outcome.
- Rinse Off Excess Compound: Once content with the clarity of the headlights, rinse off any remaining polishing compound with water and a wet sponge. This step ensures the complete removal of the excess compound, preventing streaks or residue from forming.
Final Inspection and Maintenance
Once the headlights are clean, clear, and dry, you can take a step back and inspect them from different angles to ensure they meet your expectations. If necessary, you can touch up any areas that may require additional attention. So, regular maintenance and protection will help prolong the clarity of your headlights and keep them looking their best for years to come.
FAQs About Cleaning Headlights
How often should I clean my headlights?
It’s recommended to clean headlights regularly as part of routine maintenance. The frequency may vary depending on driving conditions and climate, but aim for cleaning headlights every few months or whenever they appear hazy or dirty.
How can I prevent headlights from becoming hazy in the future?
Applying a protective coating or sealant after cleaning can help prevent future hazing. These products create a barrier against UV radiation and environmental contaminants.
Are there any DIY methods for cleaning headlights?
Yes, you can use household items like toothpaste or baking soda mixed with water to clean headlights. However, the results may be, and it’s essential to be cautious to avoid damaging the headlights.